High levels

DSC08143DSC08148

On Monday 11th of December, we went to Langport for a more in depth session with some of the people involved in the project; getting into the details of different possible options and our different wants and expectations, in order to develop a solid proposal for the next phase of Some:when. It was really inspiring to establish that momentum for the project is still there, Some:when is still alive and once we have figured out how to raise some funding, we can get stuck in.

It was a surprise to find the levels of the river Parrett so high – no serious flooding taking place, though, just a beautiful watery Somerset landscape.


Screen shot 2017-12-12 at 13.13.02

Graph source: https://flood-warning-information.service.gov.uk/station/3397?direction=u


Reunited

DSC08025

On our way back into Langport for the first time in a while, we asked the bus driver to drop us at the corner and walked down to the yard to see how the flatner was faring in her temporary abode. We were a little apprehensive, wondering what we’d find, but we were pleased to find the boat still in good shape, its timbers and joints sound – it just needs sprucing up, and good soak to swell the planks. Big thanks to Ian for looking after it!

DSC08036

Ian joined us at the yard and once we’d stopped off to say hello to the motley crew of animals in the field next door, we headed on into town for the Christmas fair, and to catch up with all our (human) friends. The fair was fantastic – we manage to pick up some nice local handmade gifts while we drifted through – and it was lovely to see so many of the people who have been involved in Some:when in different ways.

The river users’ group had set up a beautiful painted barrow to promote the Duchess of Cocklemoor  – selling duchess mugs, placemats and cards (more about that project at duchessofcocklemoor.co.uk).

DSC08091

Last but least, it was nice to be reacquainted with the Parrett at our favourite (chilly) picnic spot on Cocklemoor – the soft silver surface of the water reflecting yet another stunning sky.

DSC08077

We caught the last bus out of town as the night grew properly dark, leaving Langport’s residents and more local visitors to enjoy fireworks on the river’s bank.

DSC08098

Published: ‘Riding the Tide: Socially-engaged art and resilience in an uncertain future’

governing for resilienceWe are happy to announce the publication of Governing for Resilience in Vulnerable Places in which you can find “Riding the Tide: Socially-engaged art and resilience in an uncertain future” a paper writen in collaboration between Sage Brice and Seila Fernández Arconada.

“Governing for Resilience in Vulnerable Places provides an overview and a critical analysis of the ways in which the concept ‘resilience’ has been addressed in social sciences research. In doing so, this edited book draws together state-of-the-art research from a variety of disciplines (i.e. spatial planning, economic and cultural geography, environmental and political sciences, sociology and architecture) as well as cases and examples across different spatial and geographical contexts (e.g. urban slums in India; flood-prone communities in the UK; coastal Japan). The cases present and explore challenges and potentials of resilience-thinking for practitioners and academics. As such, Governing for Resilience in Vulnerable Places aims to provide a scientifically robust overview and to generate some conceptual clarity for researchers, students and practitioners interested in the potential of resilience thinking as well as the application of resilience in practice”.

For more information about the book please check the following link:  https://www.routledge.com/Governing-for-Resilience-in-Vulnerable-Places/Trell-Restemeyer-Bakema-van-Hoven/p/book/9781138216495


An express visit

IMG_20150306_120708 IMG_20150306_162033_1

Last week we popped down just for the day, to fit and fix the gunwhales and inwhales (or rubbing strakes – depending who you ask). It was quite a trip – we spent almost as long on the bus as we had in the workshop – but it was a productive session and made a real difference to the feel of the boat. It was a fiddly job but thanks to David we had plenty of clamps to help encourage the wood into place.

IMG_20150306_101117

It was lovely to see the Parrett in the Spring Sunshine – lets hope we get weather like this for the launch!

You can expect to hear more from us soon as we are writing now from a lovely spot near Drayton.

IMG_20150306_172531IMG_20150306_181630

Pressure’s on…

This slideshow requires JavaScript.

This was possibly the most exciting bit of the process so far – fitting the four sheets of solid marine ply that make the actual sides of the boat. As the board we had was quite a bit heavier than the specifications, we had some real concerns about whether it would bend into shape. Following a top tip from Cara, and an artful improvised bath construction from Ian, we set the boards to soak for 24 hours before we started. The marine resin is (we hope) unaffected, but the wood fibres themselves naturally soften with moisture and then set in their new configuration as they dry.

The tricky thing was getting the angle right on the front posts – with nothing much to go by but feel, and four different sets of eyes and opinions… However, we arrived at a solution we liked and worked our way back along the boat, watching the straight-sided boards miraculously produce their lovely raking curve as they were pulled in tight against the ‘knees’. Then we had to construct ‘straps’ to join the rear boards to the front, and wait a good half day while the glue set solid before we could safely attempt the final curve.

Thankfully, all went smoothly and we now have what is, in essence, an actual boat… …though there’s a fair amount of work to go before we can complete the finishing touches and set it afloat!

The photos above give a bit of a sense of the process. Thanks also to Cara and others who got their hands dirty wrestling the boards into place, but didn’t show up in the photos…

IMG_20150301_162528

SOH CAH TOAH

DSC01441

Working as artists in multiple collaborative and community contexts, we’ve had to develop a pretty varied range of skills – knowing how to work with different materials, how to facilitate shared processes, how to improvise and find creative solutions to unexpected problems. But the best thing about collaboration, is that in the end it;’s not all down to you. Other people bring their own skills and knowledge (and stories, and ideas) – and you end up creating what you didn’t know you could.

Building Some:when has been a bit like that – surprises come up, things fall into place, people chip in and throw their different perspectives into the mix. This was evidenced in a small – but critical – way a few weeks ago, when we found ourselves trying to cut the triangles for the prow and stern – without a protractor…

Captain Peter arrived with impeccable timing and gave us an impromptu lesson in trigonometry.

with captain

A couple of weeks later, it was time to put it all to the test as we assembled the locker and post structures. Thankfully, everything fitted together beautifully, and we ended up with a structure we hope is solid enough to ‘crack ice’ (as the Nova Scotian fishermen say) – or at least strong enough to take a few hard knocks when exploring uncharted flood waters, or traversing the length of the powerful Parrett!

DSC02773 IMG_20150226_205259

Mission: accuracy

IMG_20150227_111407

There are very few straight lines on a flatner, as it turns out. All the same, the process of creating symmetrical curves seems to involve plotting a lot of lines – whether with string, pencil, ruler, clamping pressure or even cast shadows and light.

photo 1 (4)

We have the use of an incredible space to build the boat. Like the flatner, our workshop is characterised by an absence of straight lines, so we’ve had to come up with some intriguing methods to make things fit.

IMG_20150227_134001

photo 111

The boat seems none the worse for it, though. Today we offered up the first sheet of ply to the sides of the boat, which was quite exciting. It’s satisfying to see how well everything comes together. Fingers crossed for tomorrow – it’s a big day!

IMG_20150227_192806

Compound angles and complex curves

IMG_20150226_104832


Yesterday we divided our time between preparing the marine ply for mounting, and constructing the stern post. This has to be perfectly straight and solid to hold the curve of the ply when we mount the sides in place.

Ian put together an ingenious tailor-made soaking bath to soften the ply. The resin itself is (we hope) fully waterproof, but the fibres should soften with soaking, allowing us to bend the ply more easily into place, and then set again in their new positions to form a strong curve.


IMG_20150226_133210


These angles were tricky to do but we now have a stern that looks like it could break Ice. Hopefuly robust enough to withstand some hard knocks in its life as a resource for young people and community activities in the future.


IMG_20150226_205322 IMG_20150226_205355


Now that it has a stem the boat is starting to transform from ‘primordial fossil space fish’ to something more like a viking longship (in miniature). The origins of the flatner design are lost in time, but it is thought to owe its shape to either Viking or Saxon heritage… what do you think?

…and we’re back!

IMG_20150225_124217back flatner

It’s our first day back and it’s been a productive one. After putting together a quick schedule for the week we set straight to work. Assembling all the parts from the last session was fun – once the sanding was finished we seemed to get a great deal done very quickly. Then it was on to the prow and stern posts – a complicated job – but more about that tomorrow…

flatner 1

us working flatner

For now, the flatner still looks like something between a fossil, a fish, and a space ship about to take off. I think perhaps after all this time the boat is eager to be off – hopefully that energy will stand us in good stead when it’s finally time to spring forth onto the waters.

IMG_20150225_165403

A Sea Captain’s Tales

We are pleased to share in our blog a story from Captain Peter Hull who kindly came to visit the making of the boat, telling us stories and supporting us in the process: thank you.

“INDONESIAN BUGIS” by Capt Peter Hull

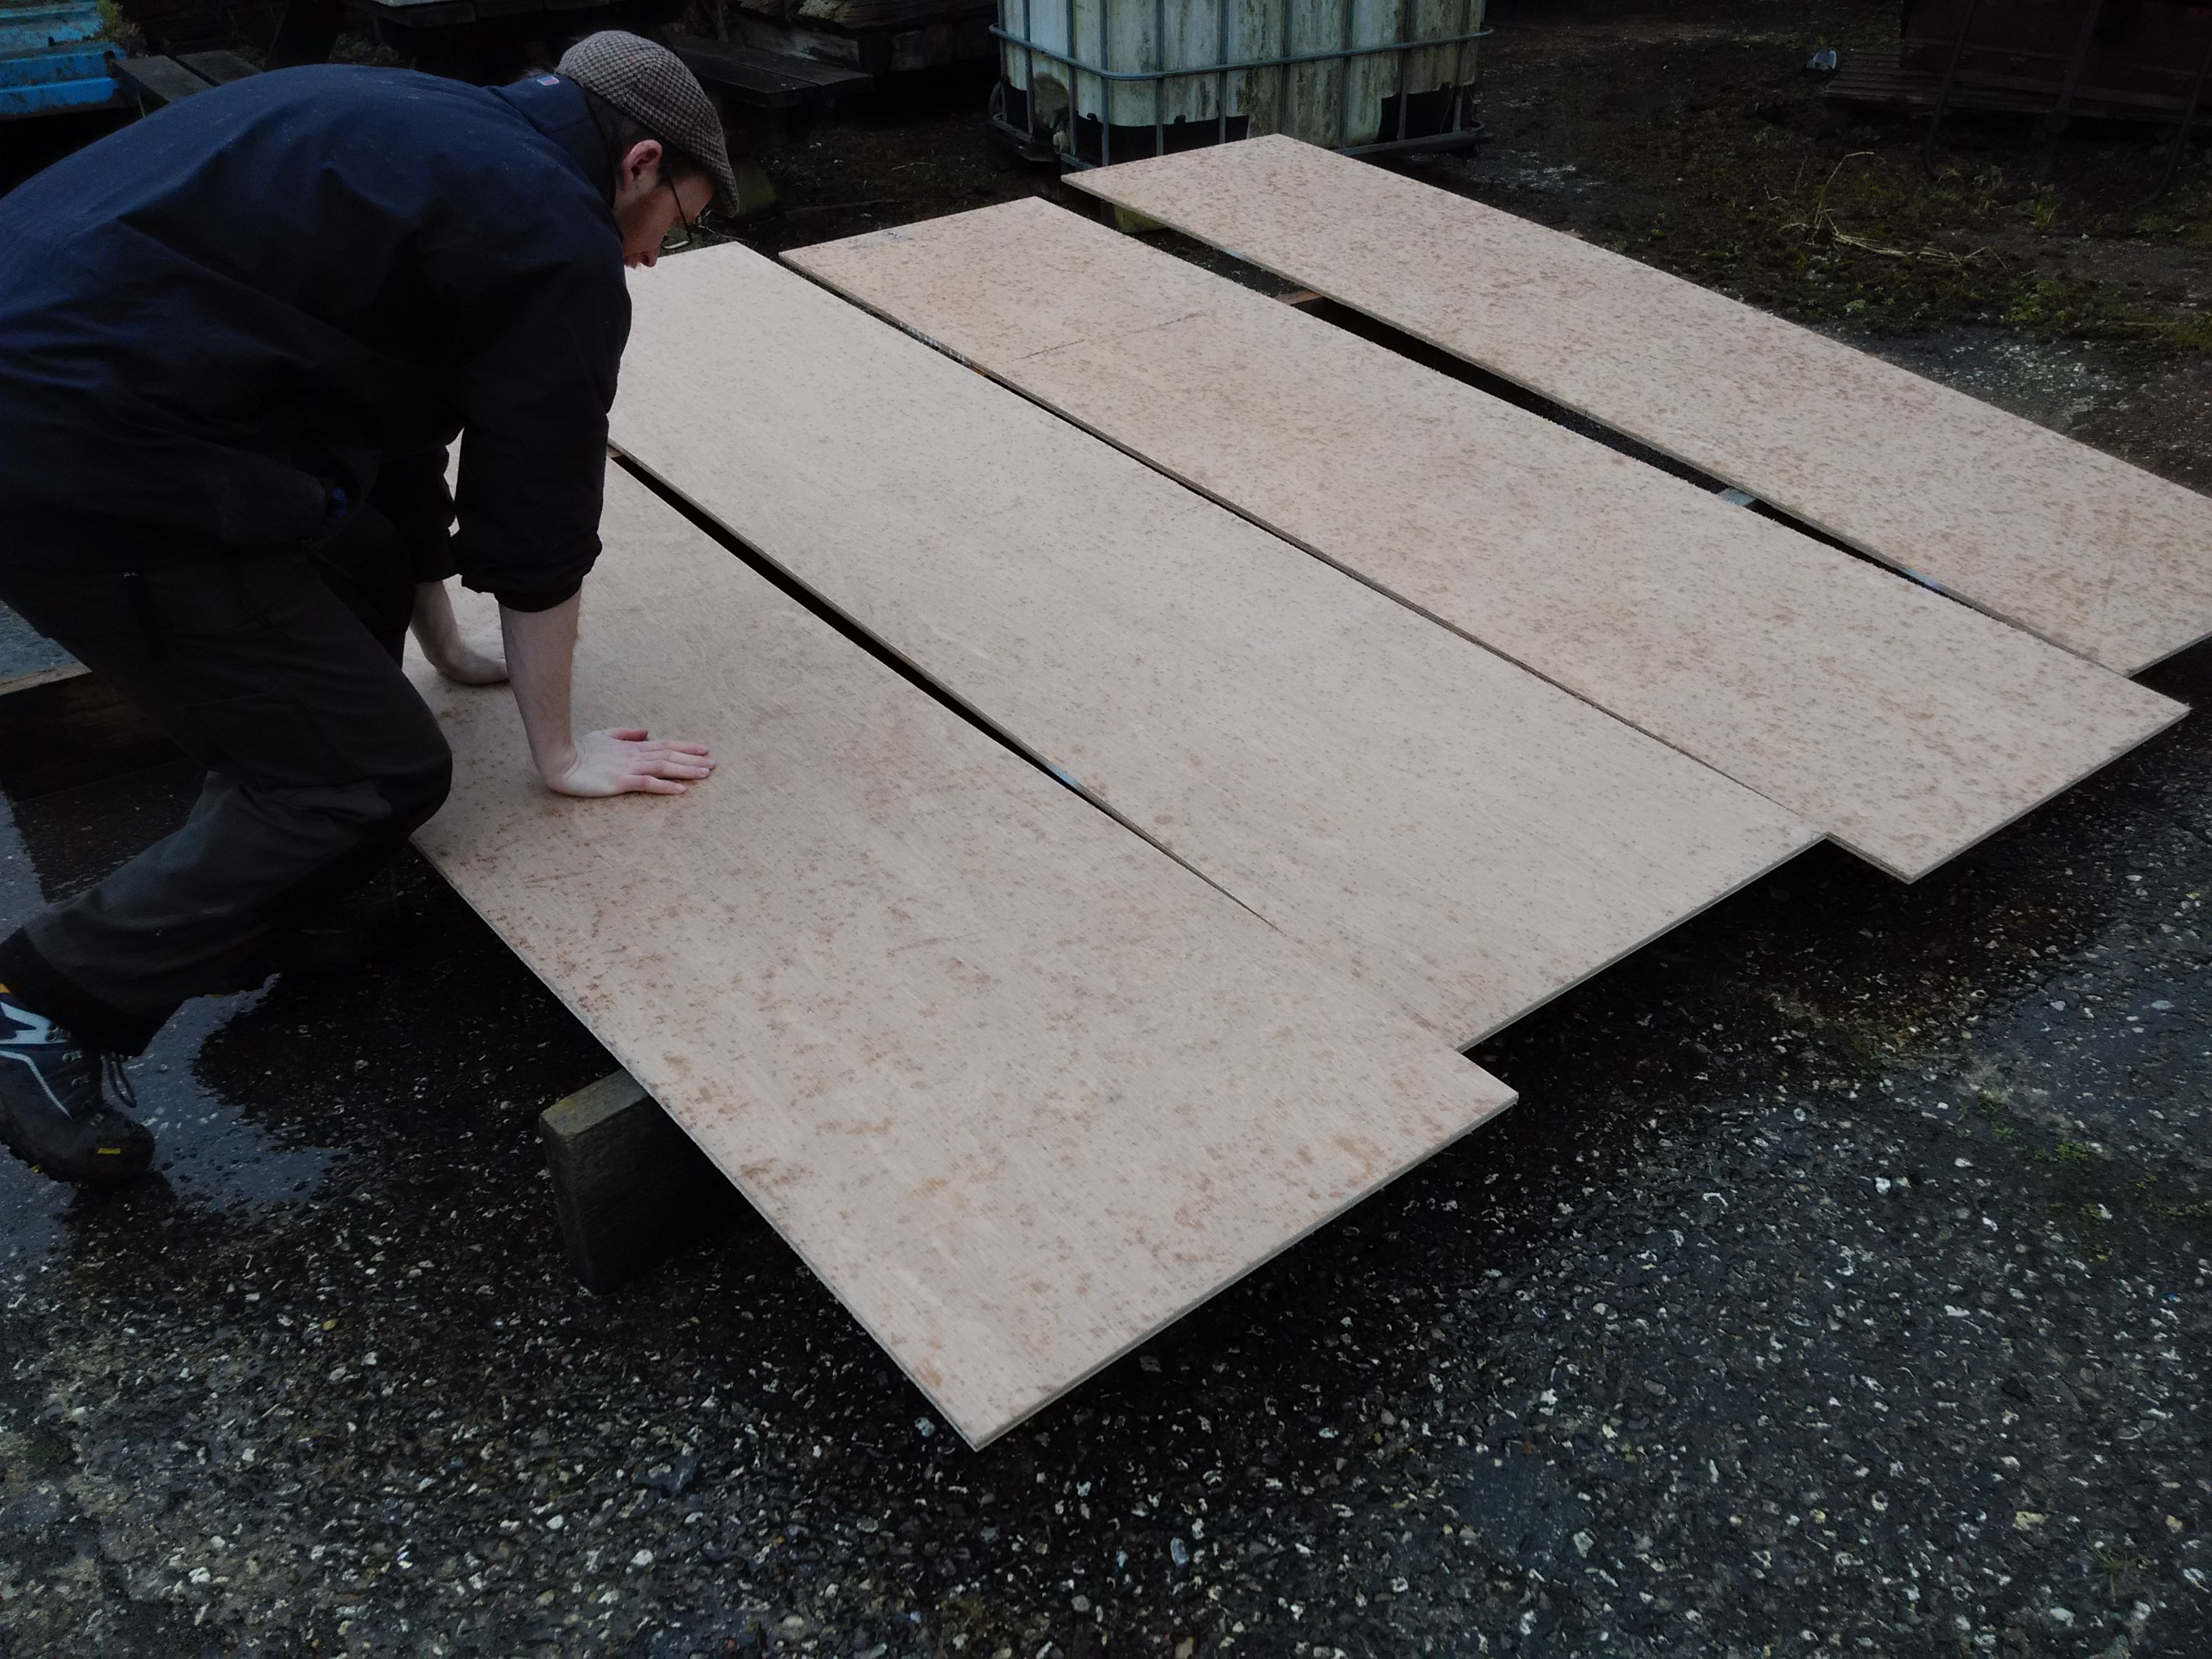
I am a Master Mariner by profession and formerShipmaster. In 1984 the Shipping Company for which I worked posted me to Indonesia to act as Operations Manager in South East Asia.Indonesia is a busy, diverse and fascinating country. It is the largest archipelago in the world with over 17,000 islands. It is also one of the most populated. Hence boats have always formed an essential part of life in Indonesia, enabling people to travel and trade between the islands.What I normally referred to asBugis are part of a group of sailing vessels often called Makassar Schooners orPhinisi (sometimesPinisi). They are probably the last such fleets of sailing boats in the world that still ply for trade. They carry a wide variety of goods such as timber, copra, rice and raw materials to centres like Jakarta, and return to the various river ports throughout the archipelago with material such cement, steel and manufactured items. The main centre in Jakarta is known as SundaKelapa, which is the old sailing ship port nearTanjungPriok. It is well worth a visit.It is interesting to see the Bugis being loaded and discharged. Most of the cargo is carried as loose bags or single boards of timber and the stevedores walk up and down a narrow plank carrying a bag of cement, rice, or a couple of planks. The planks of timber are sometimes cut by hand in ‘saw pits’.

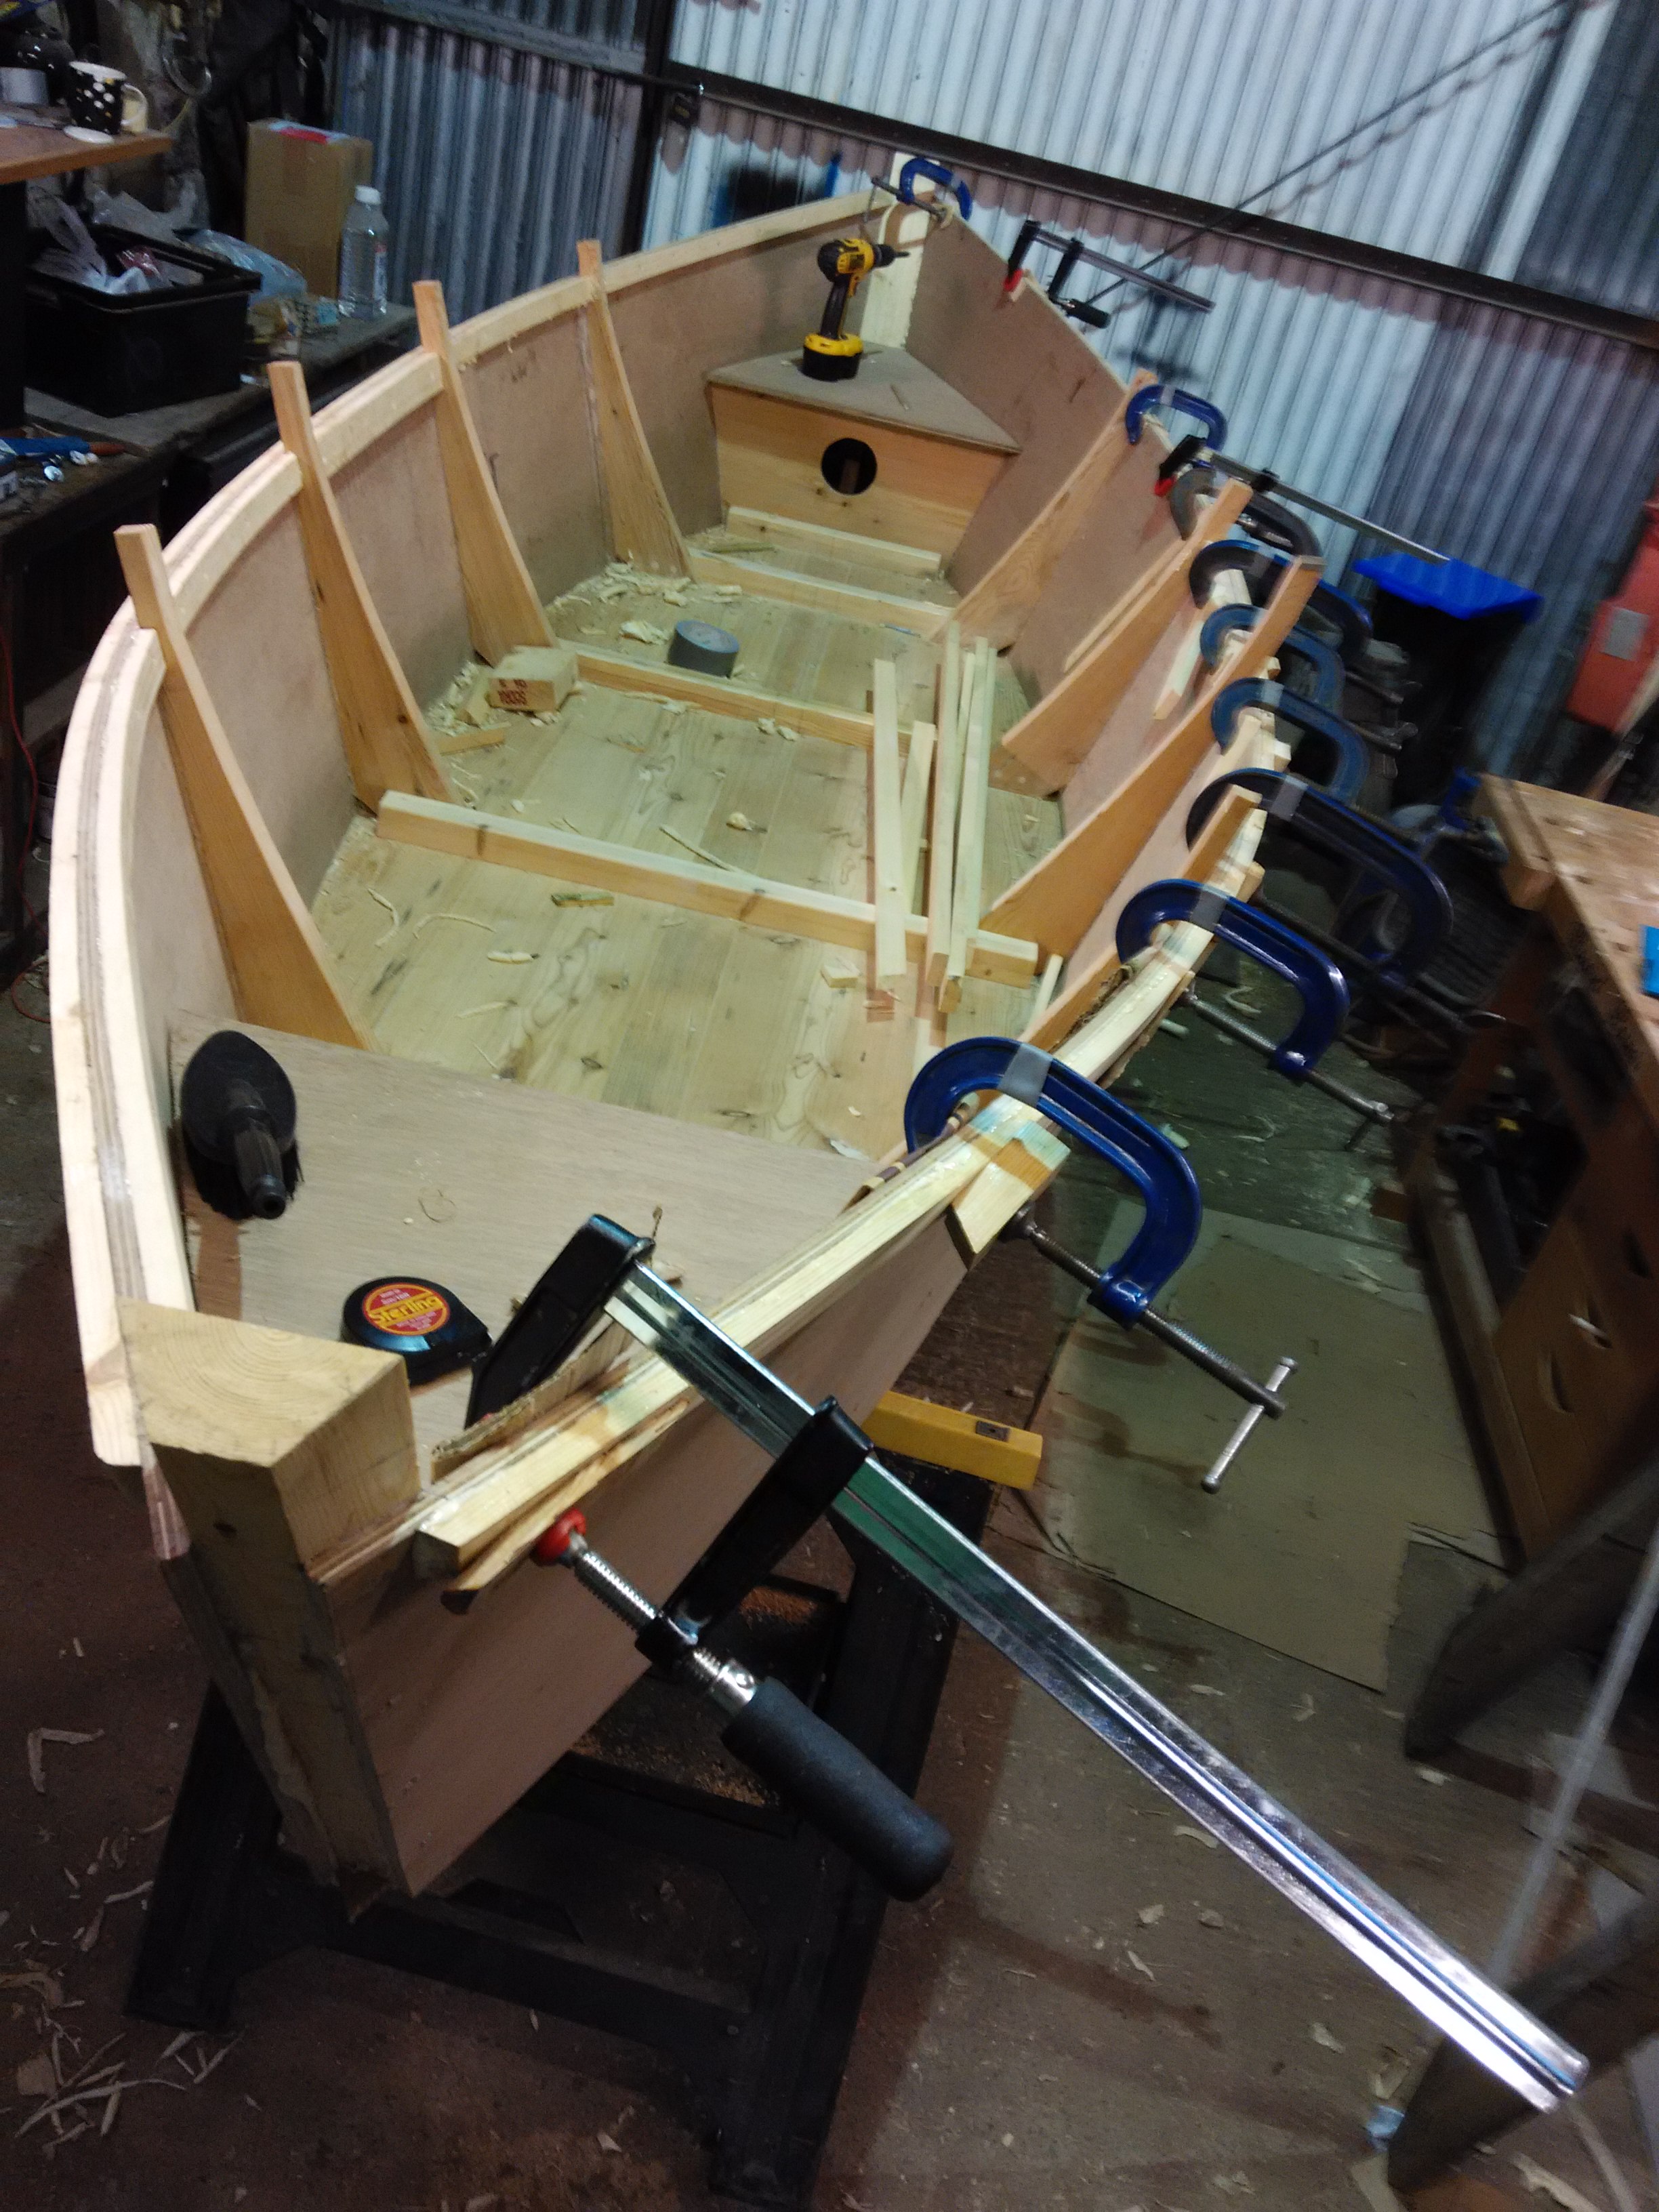
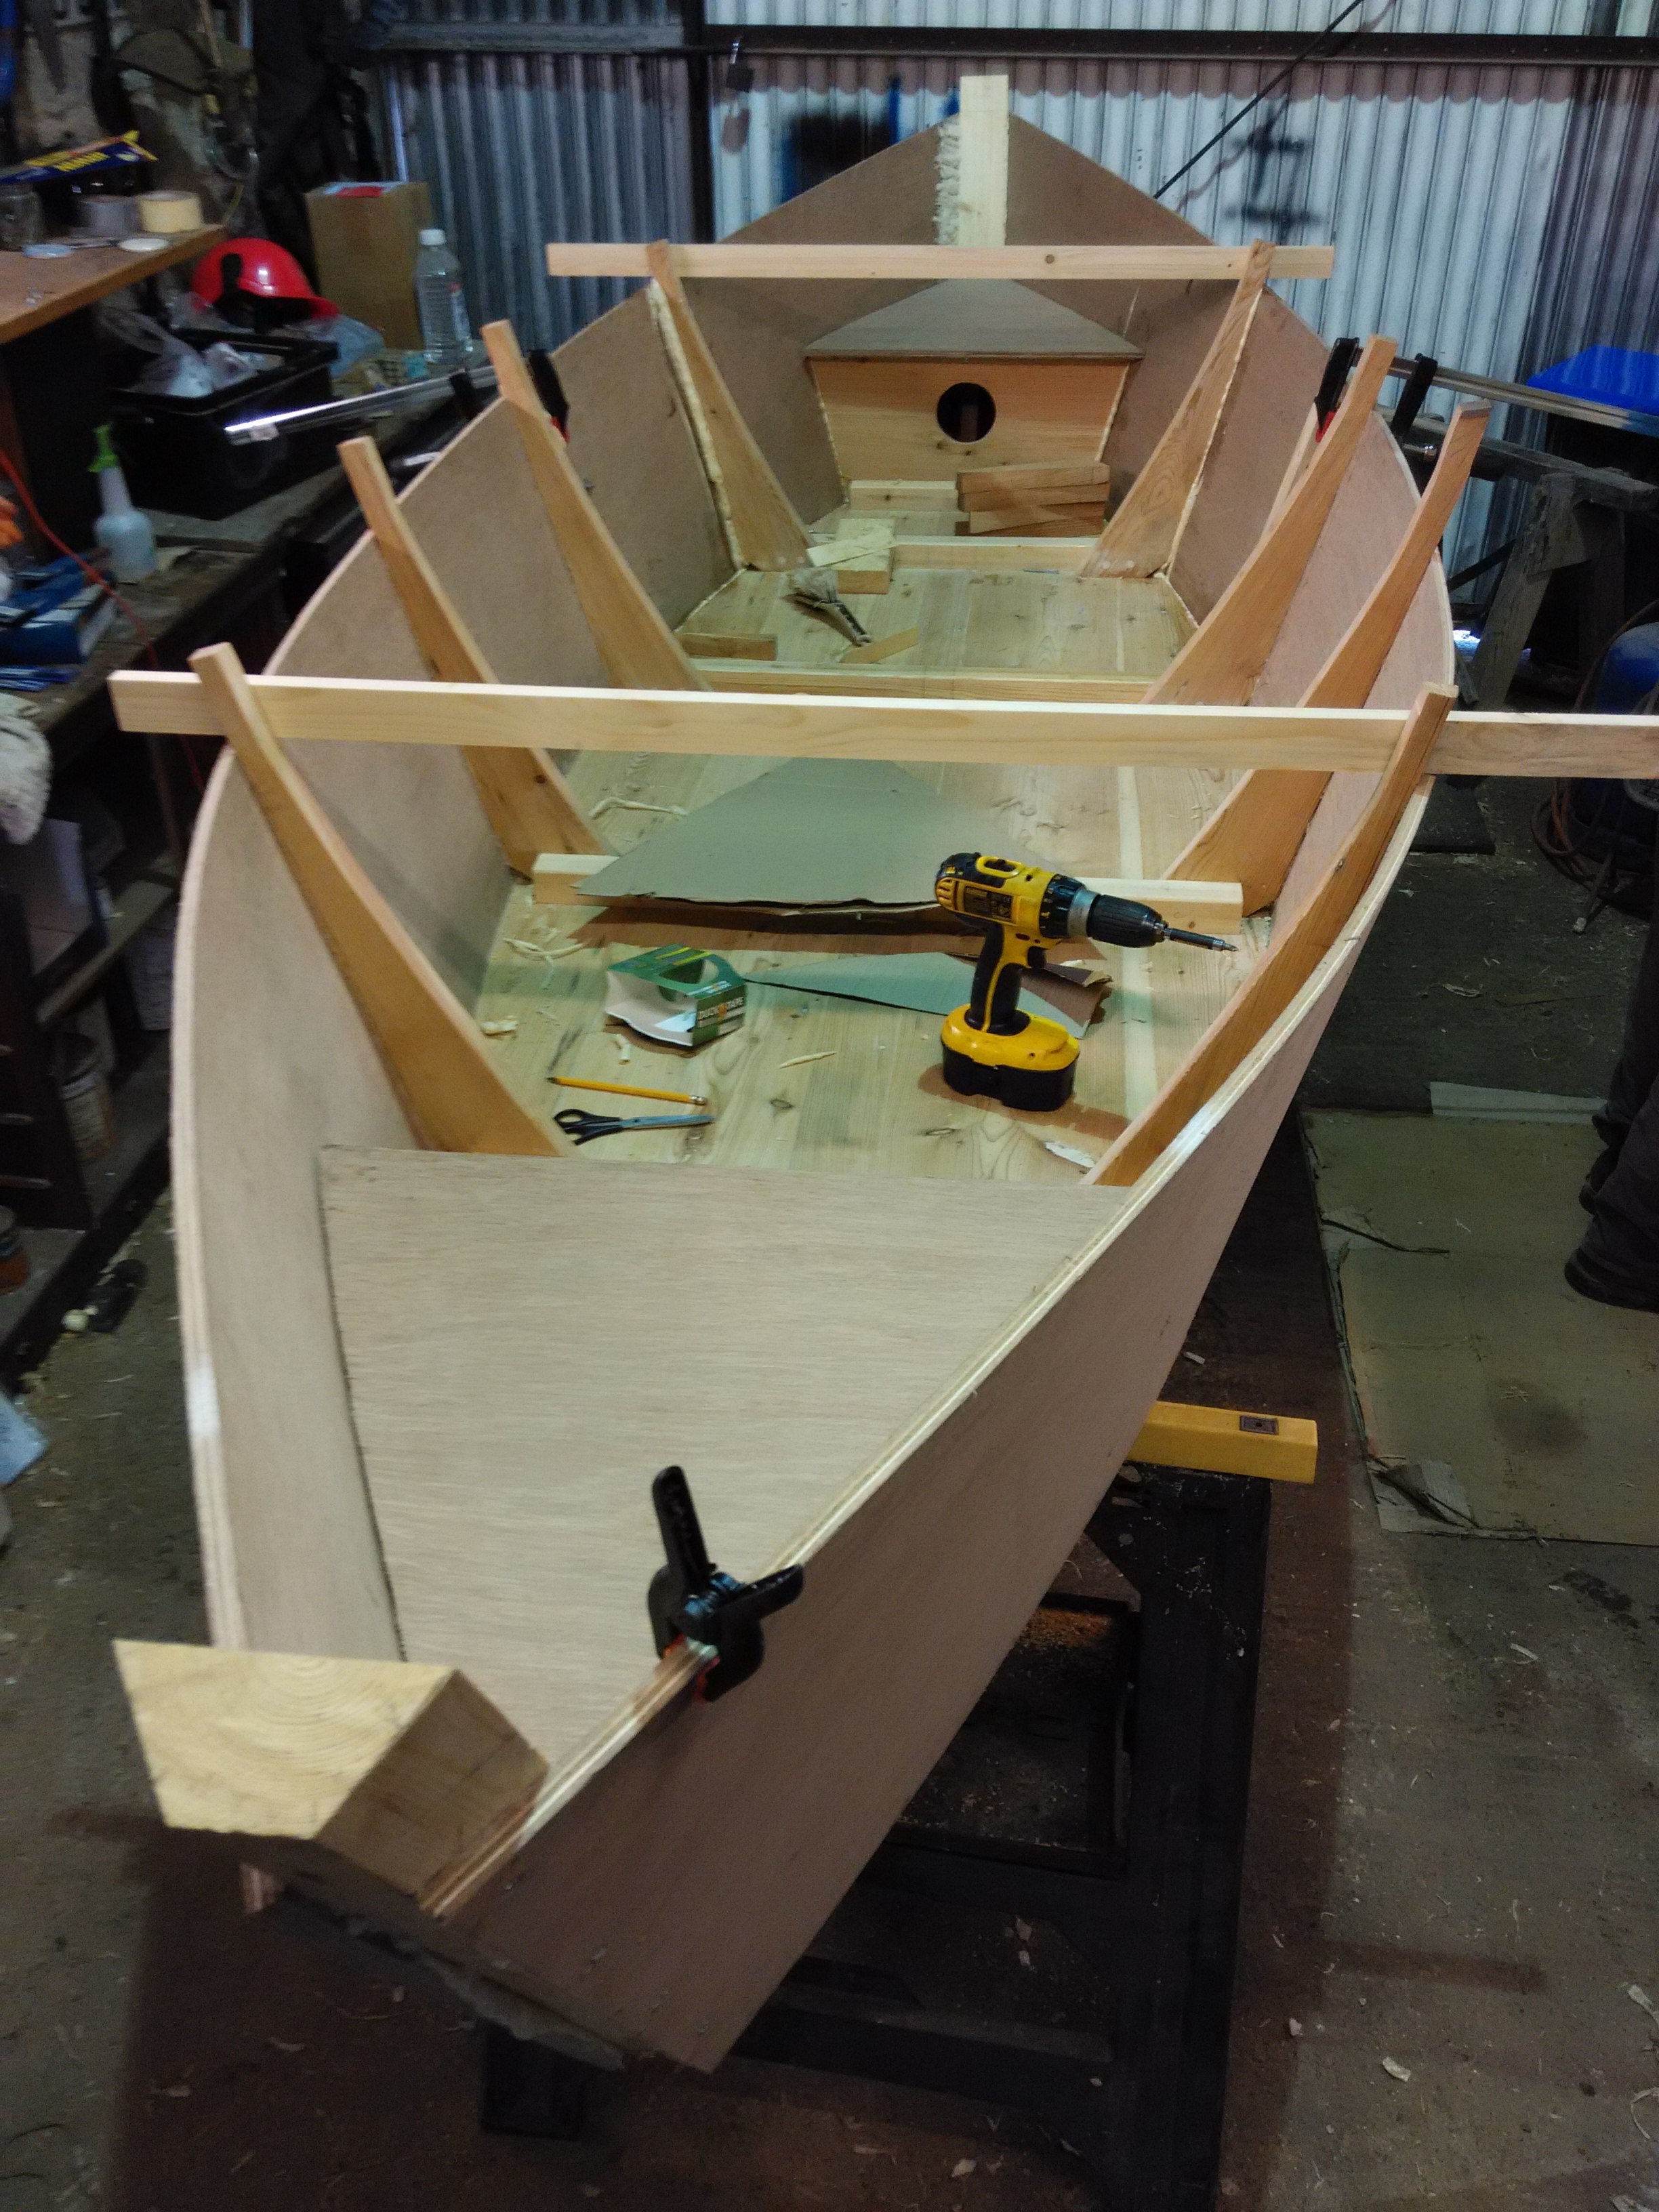
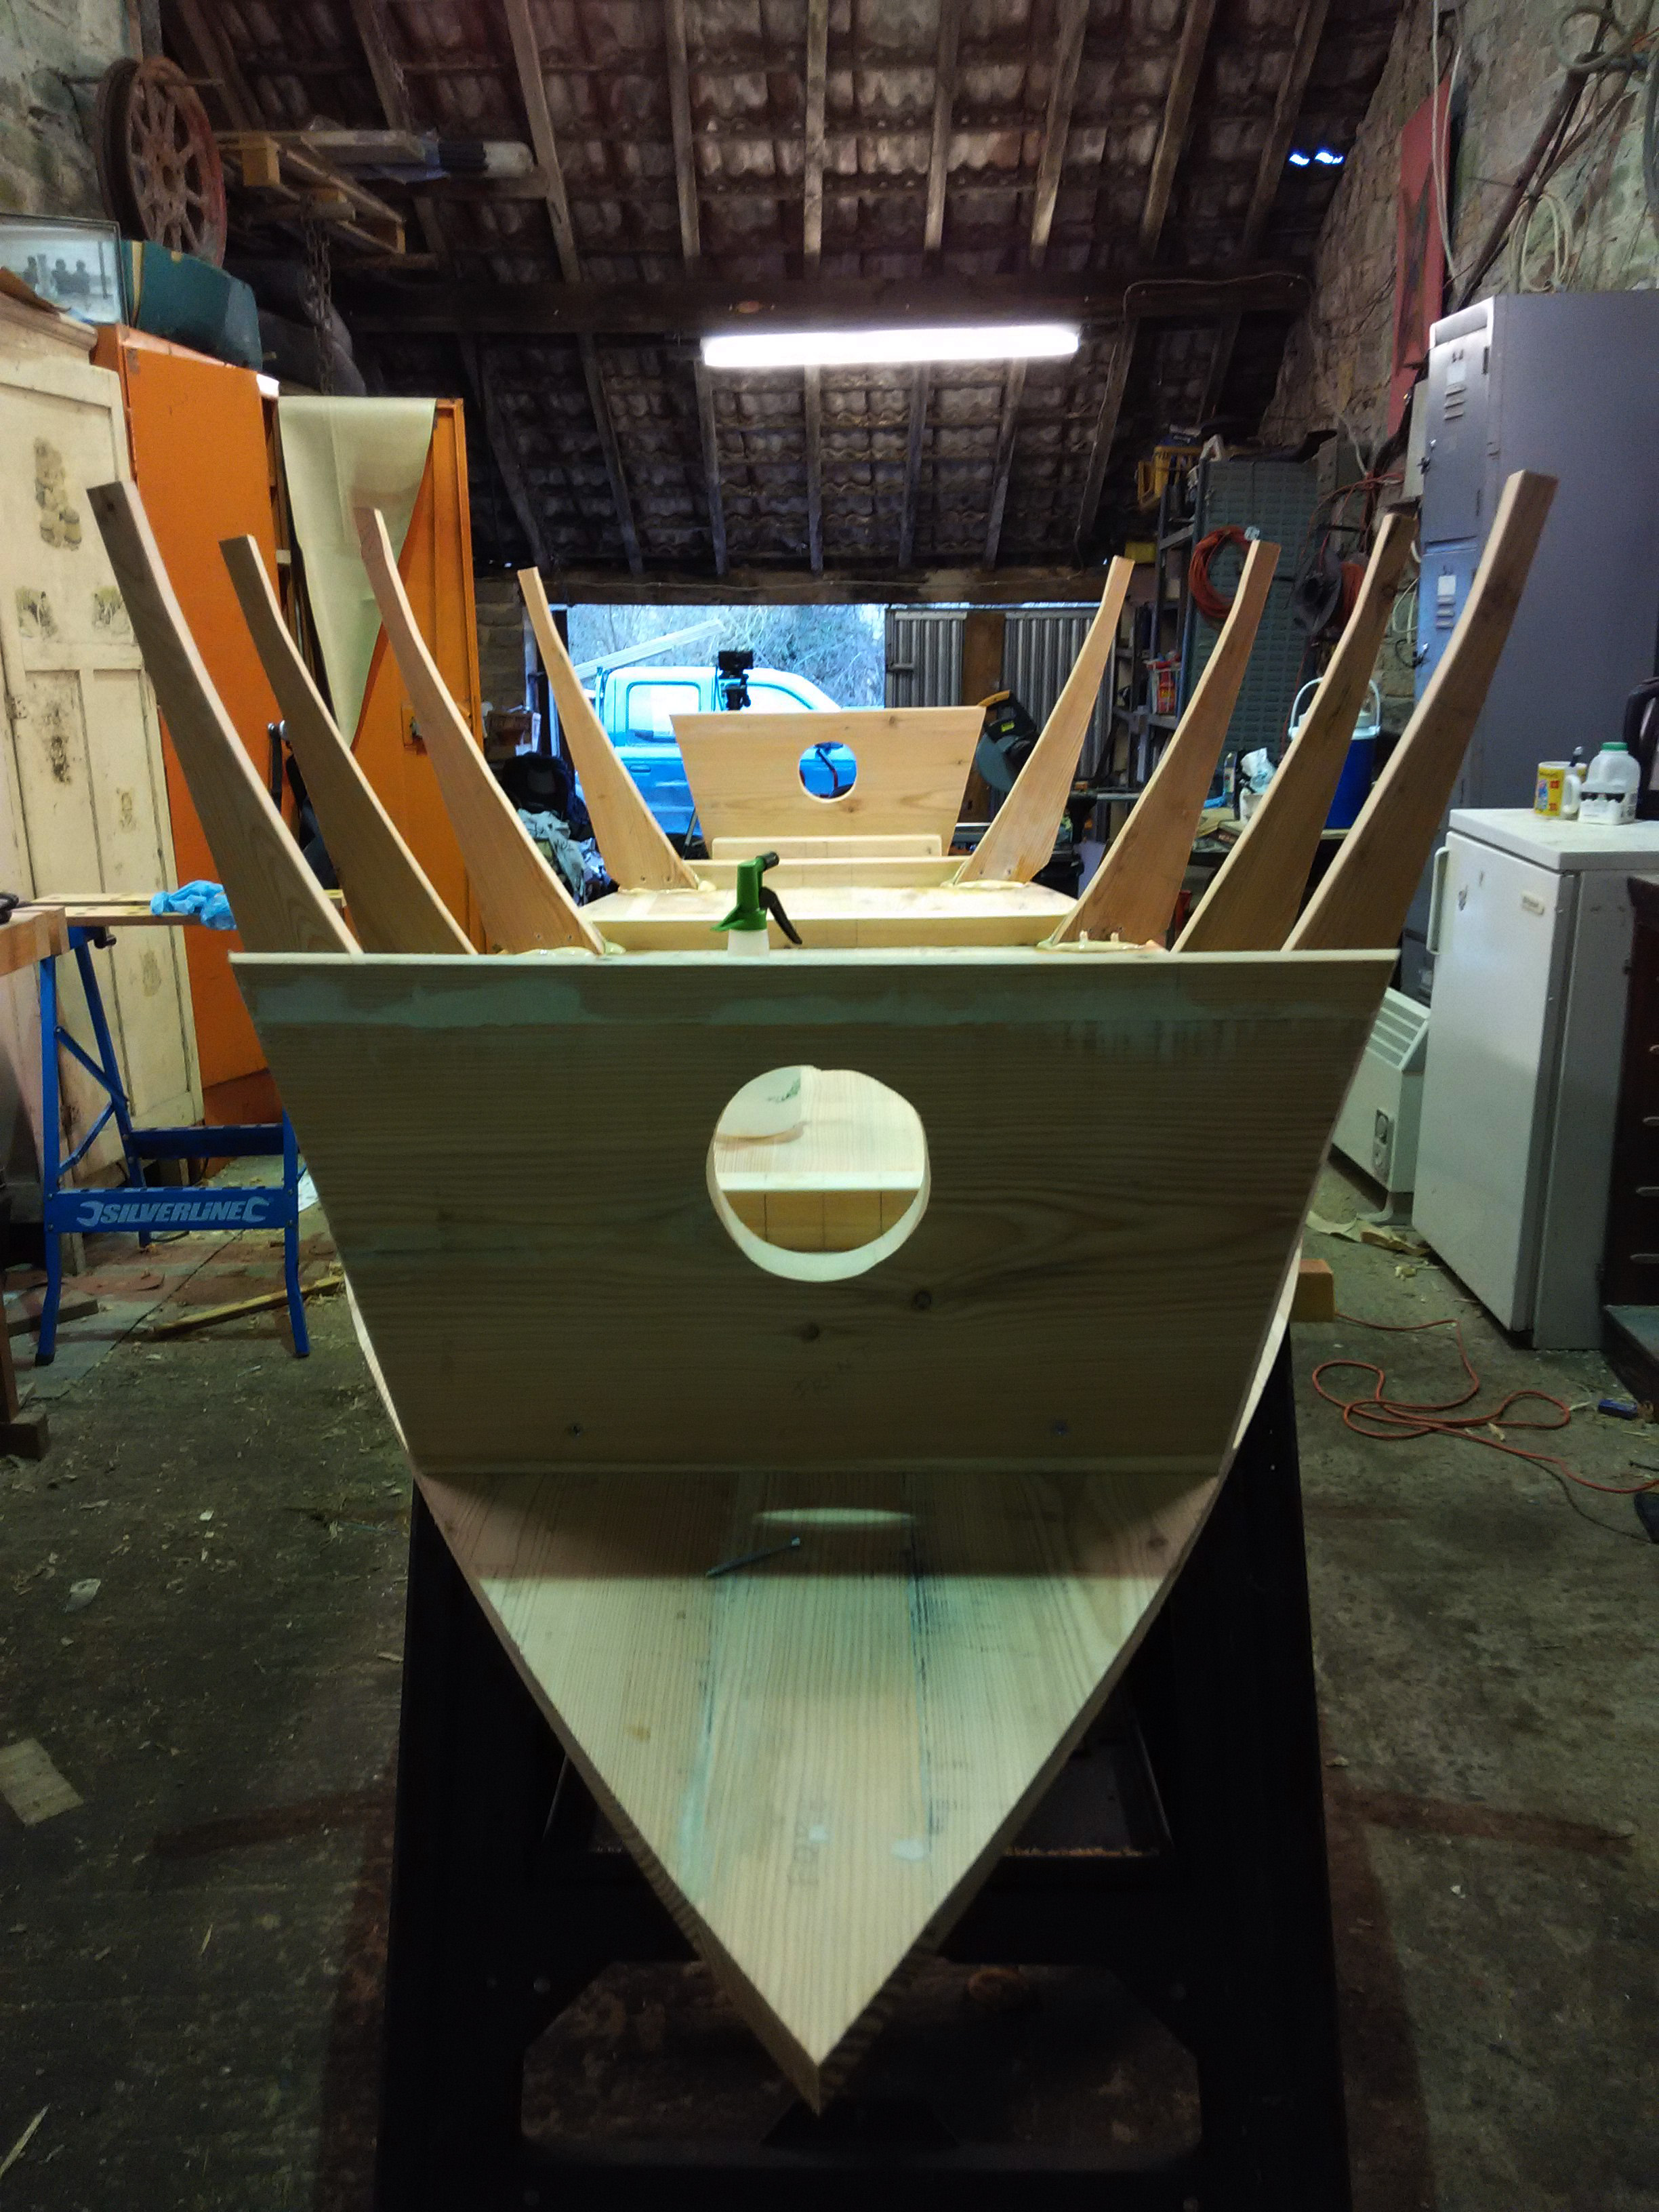
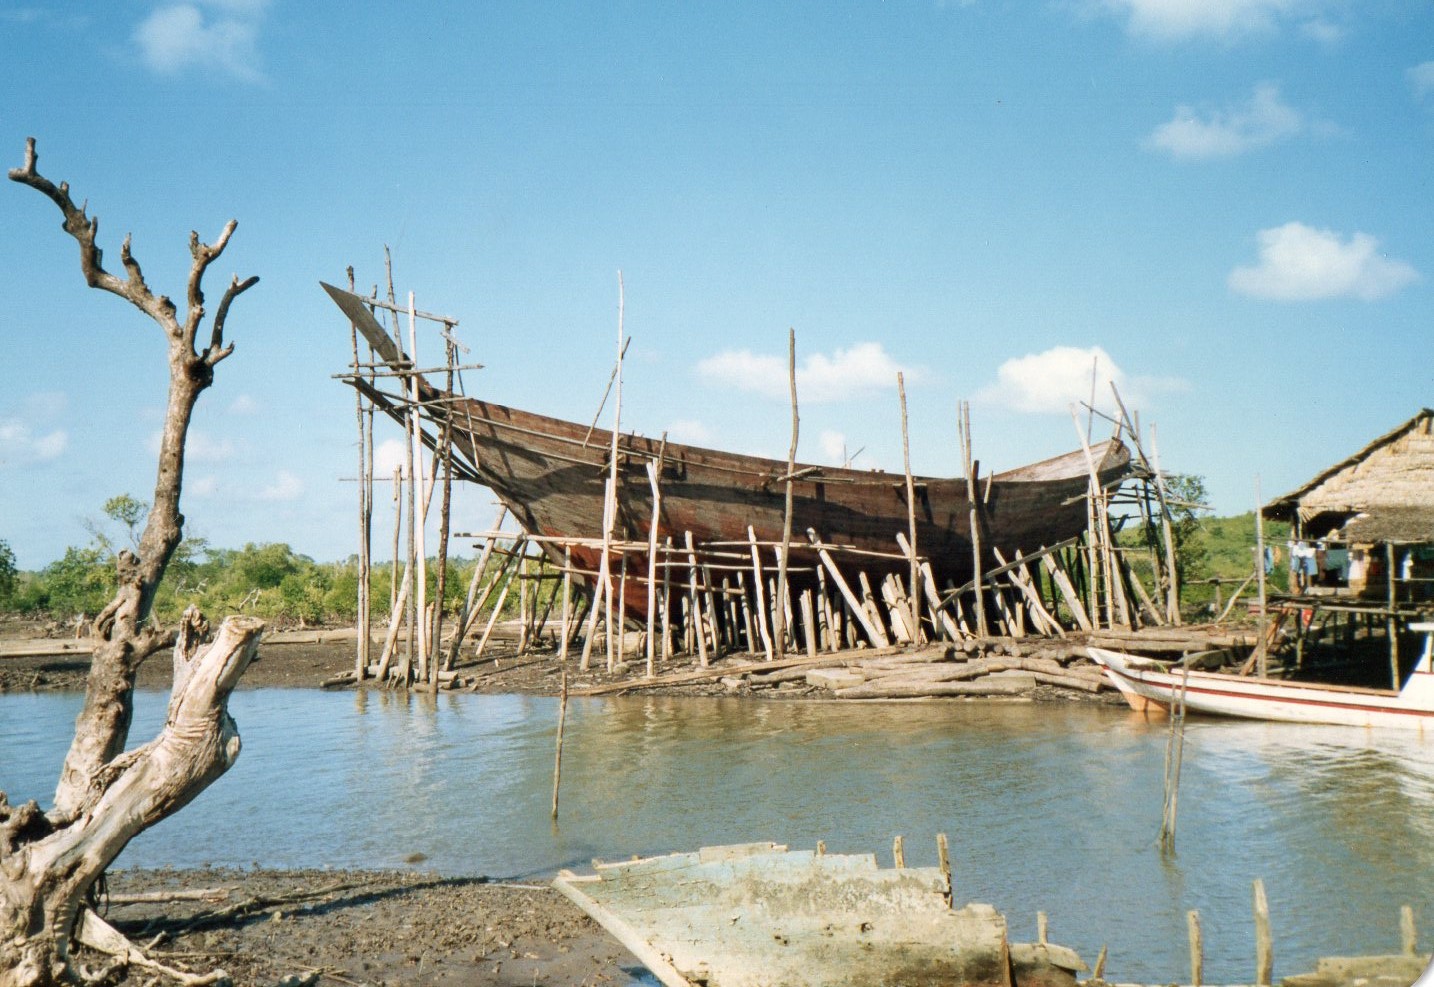
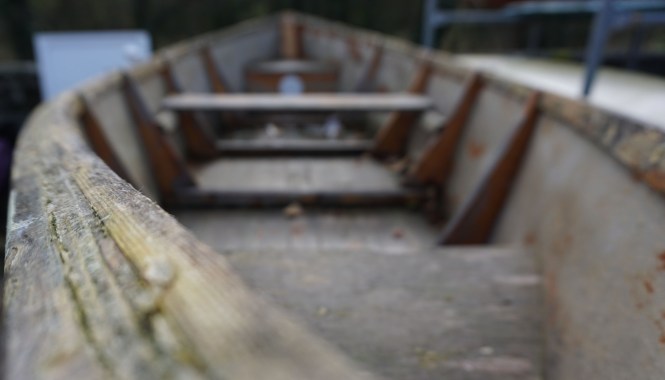
I had been to Indonesia before this and seen numerous Bugis at sea under full sail – an impressive and colourful sight. But my new posting gave me a chance to see one being built in Kota Baru (South Kalimantan). It was rather fortuitous to stumble on this vessel while I was supposed to be doing something else, but it gave me the opportunity to learn a bit about Bugi building. The most interesting thing is that they build the shell first and the frames second.

building a boogie indonesia039

building a boogie indonesia041

Here is an extract from an article about them……

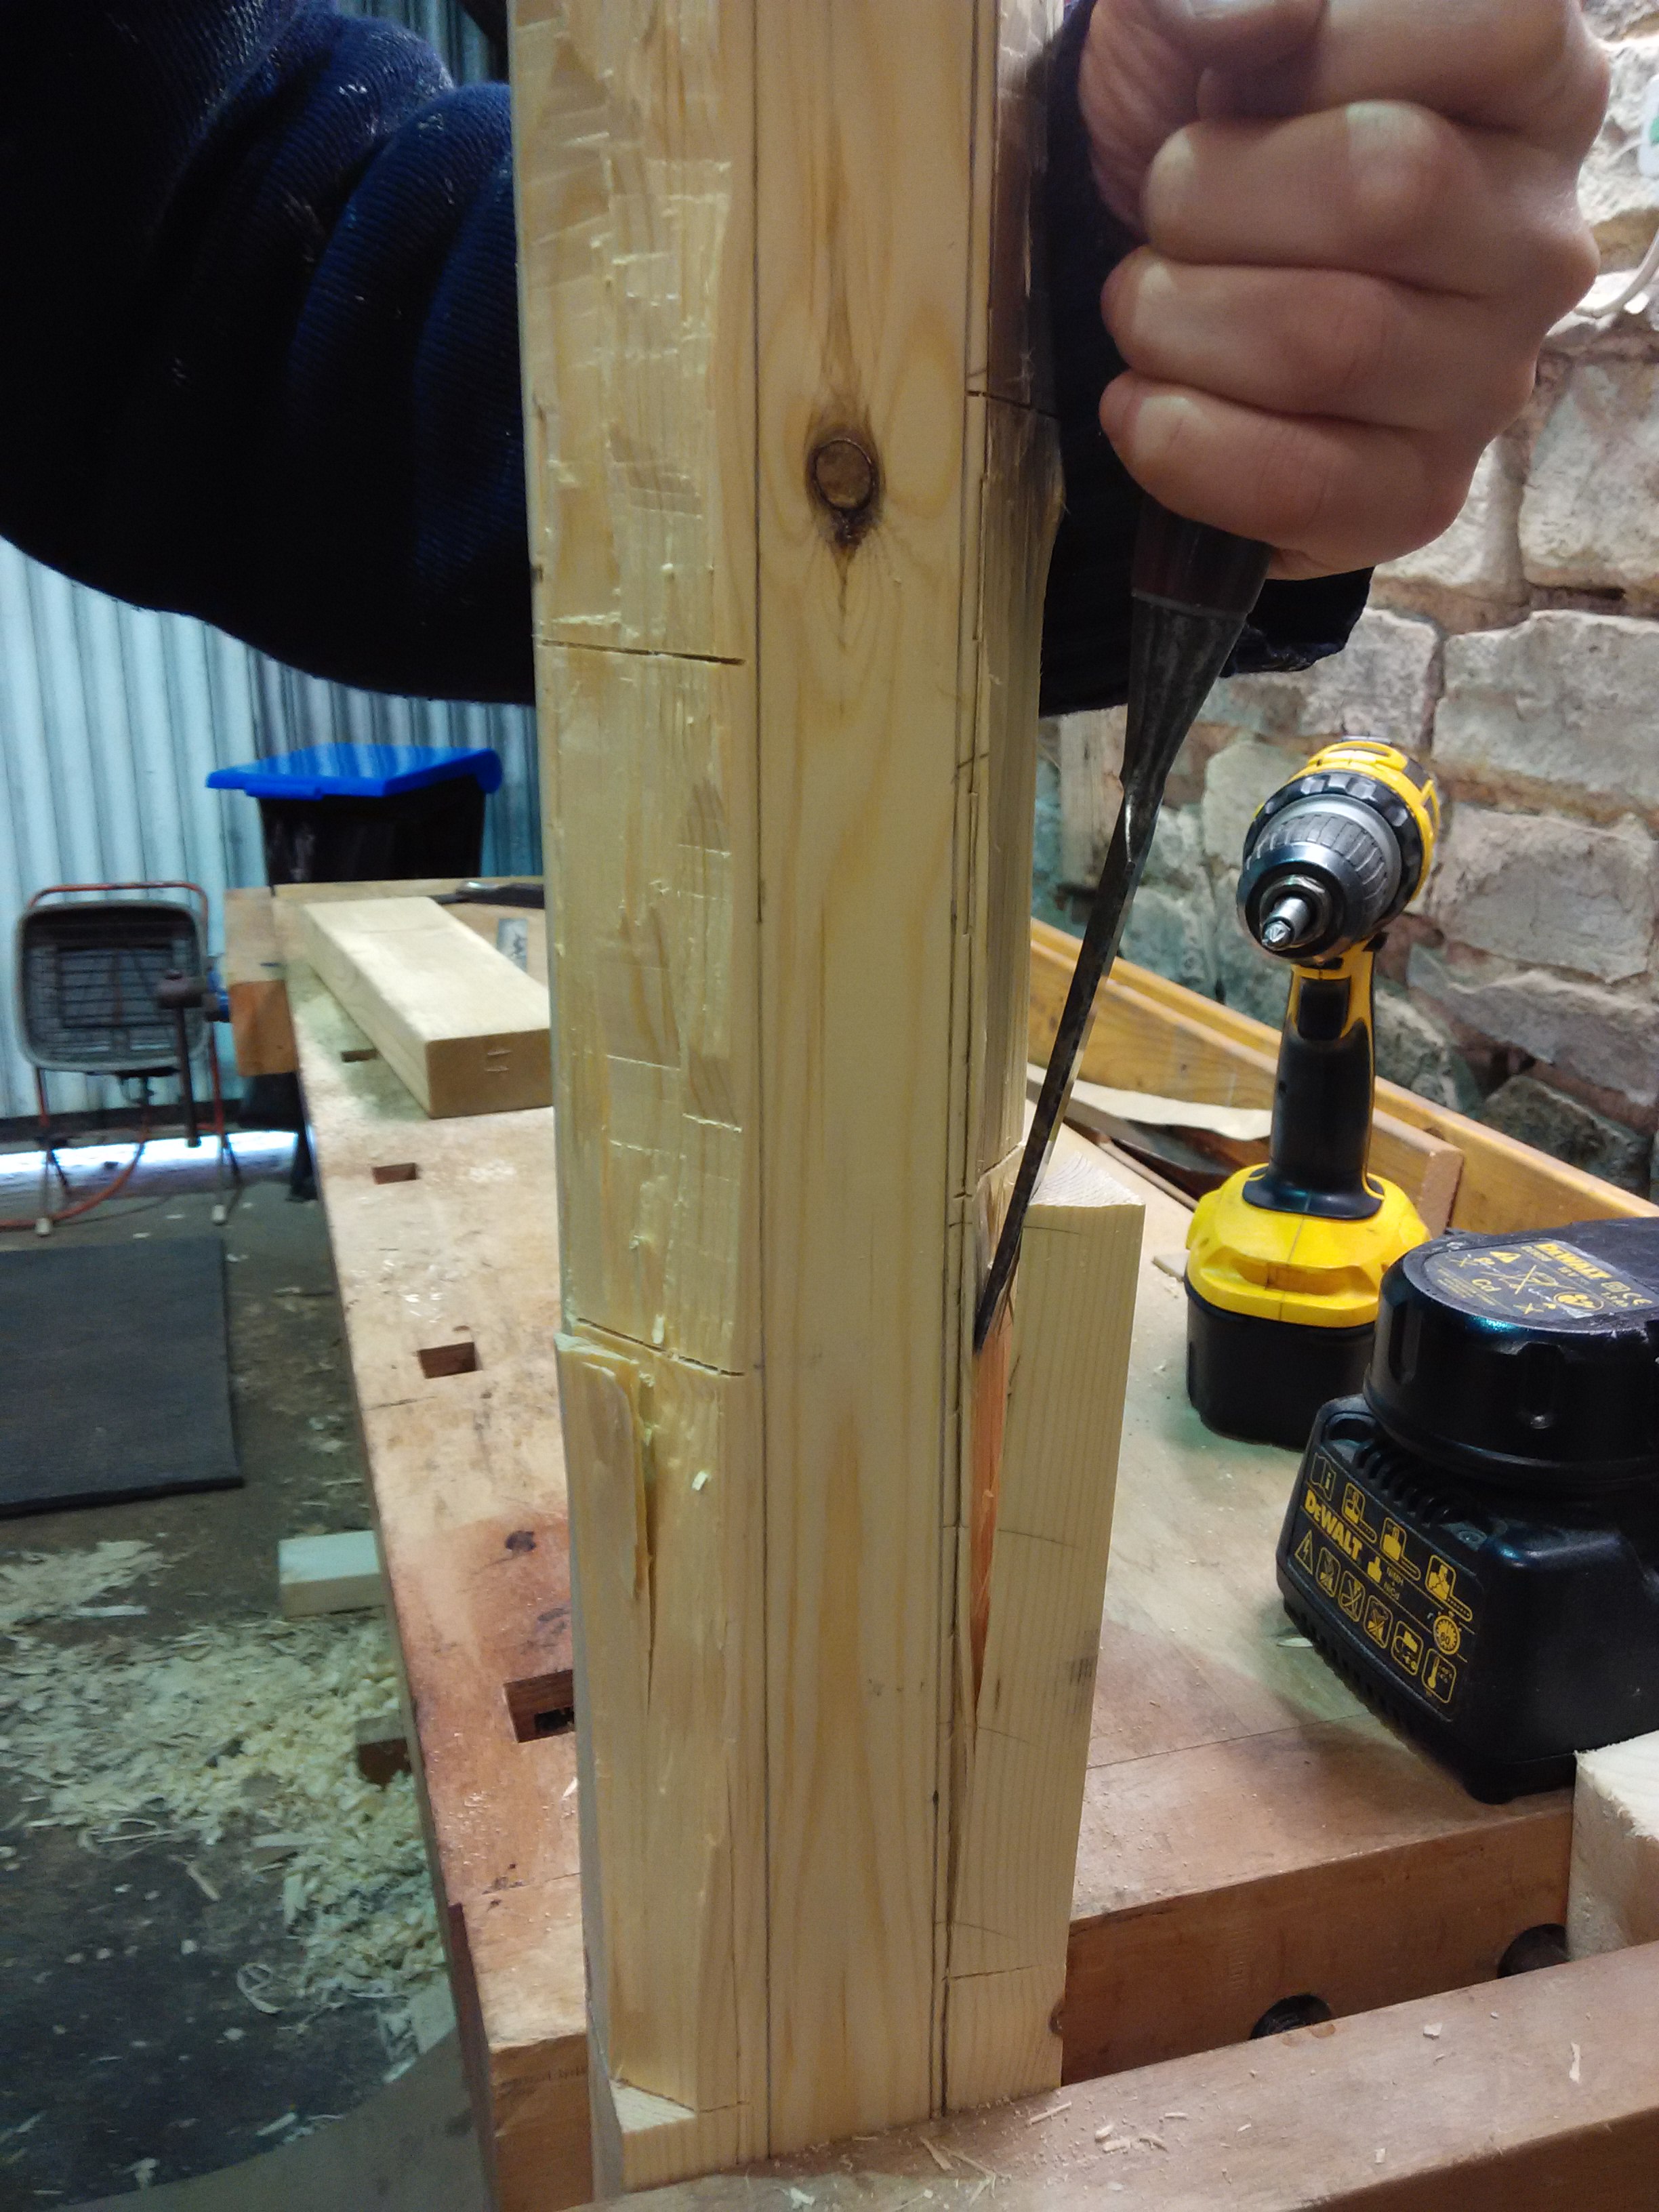
‘Pinisi have always been assembled using wooden pegs to join the timbers. We would call the fasteners “trunnels” or tree nails.

The sequence of assembly is different than we in the West would ordinarily assume. First the keel is laid, then the stem and stern post are erected, as usual. Then however, rather than setting up the whole array of the hull shell. The frames are pegged to the planks, to the keel, and to each other where the frame segments are joined. The frame butt ends either lap across the keel (Sulawesi style), or are joined to a floor member (more common in Kalimantan), depending on the tradition from which the individual boat builders have come.

This “planking first” approach may seem odd to our rigidly defined approach to shaping a ship in the West, but this is as the builders among the Indonesian islands have done it since no one knows when. This is very much the most common method used throughout Indonesian, Malaysian, and other South and Southeast Asian waters, and the method has served the people very well indeed’. 

(I think the ancient Greeks used to build trireme this way)

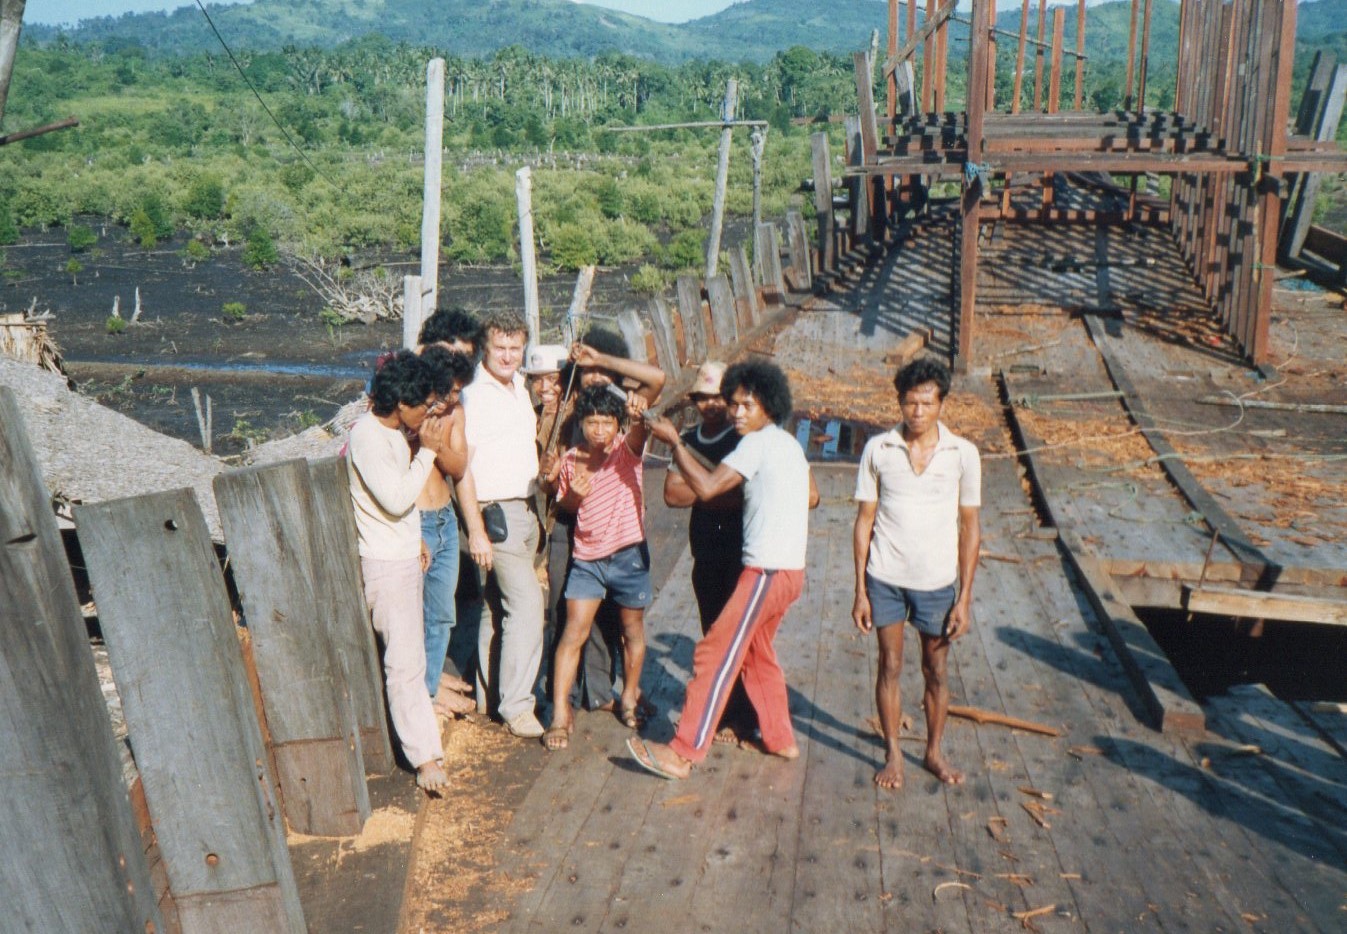
Suffice it to say that building a Bugi requires a lot of skill and experience. They are impressively large and built by hand using village labour without the help of power tools. (There are quite a lot of websites showing Pinisi building).

building a boogie indonesia042

building a boogie indonesia044

All photos are courtesy of Captain Peter Hull.